
Are you team candy corn? Do you love that seasonal candy so much, you stock up so you can munch on it until December? No, just me?
Today, I thought I'd share a free sewing pattern and tutorial for you to make your very own candy corn plushie! No stocking up required. And it's so adorably cute, even those candy corn haters out there can't say no to these sweet treats.

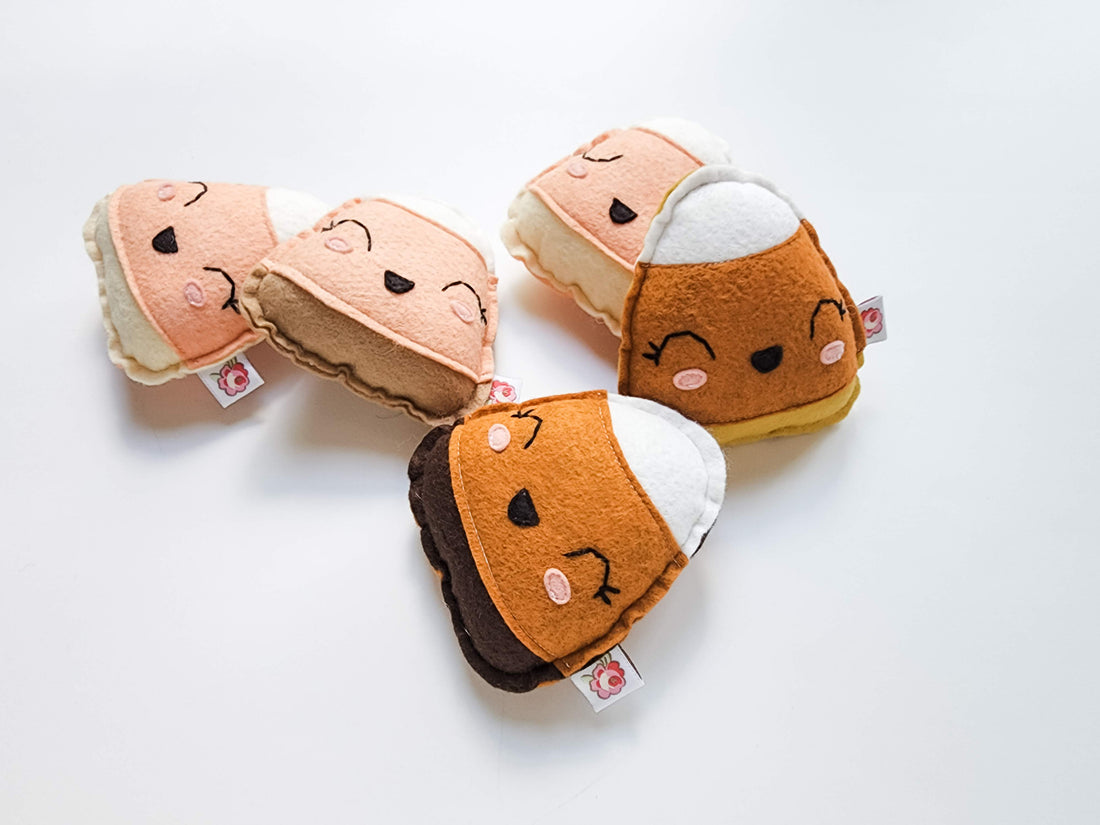
Candy Corn Plushie
Skill Level: Beginner Friendly
Time Commitment: 15-30 minutes
Gather your materials:

You'll need:
- Printed Pattern (download here)
- Felt (I use a wool blend felt, but feel free to use craft felt)
- White
- Orange
- Black
- Pink
- Yellow or Brown
- Embroidery Floss
- Black
- Embroidery Needle
- Poly-Fil Stuffing
- Sewing Machine or Needle & Thread
- Scissors
Before you begin:
Cut your pattern pieces and the coordinating pieces from felt. You can use any color you'd like for the back piece, I usually just use orange. But use what you have or add a pop of color for a unique plushie!
Let's start sewing!
1. Place your white (top) piece of felt on the base color (either yellow or brown depending on your flavor). Edgestitch in place a scant 1/8" from the edge of the felt.
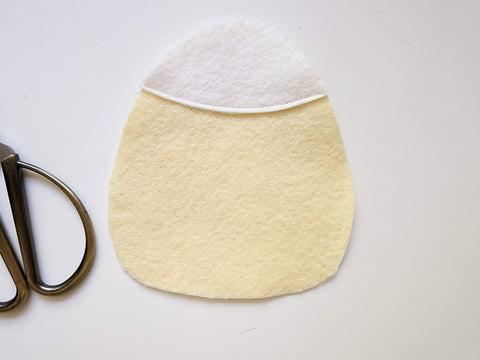
2. Next, add your orange (middle) piece of felt to the base piece. This should overlap the top piece by about 1/4". Edgestitch along the top and bottom of this piece.

3. Using the face placement guide, add your mouth and cheeks to the middle piece. Edgestitch in place. Tip: you may want to switch your thread to match the mouth, but you probably don't have to switch your bobbin thread (if you're using a sewing machine) because it won't show through those three layers of felt.


4. Mark the eyes with a pencil or water soluble pen.


5. Carefully line up the front piece with the back piece and pin in place. Leaving a 1" opening at the bottom of your plushie, sew along the edge of your fabric 1/4" from the edge. Tip: Before you pin the front and back together, you may want to turn your front over and see if any of the colors need to be trimmed.


6. Stuff your plushie from the hole you left in step 5.
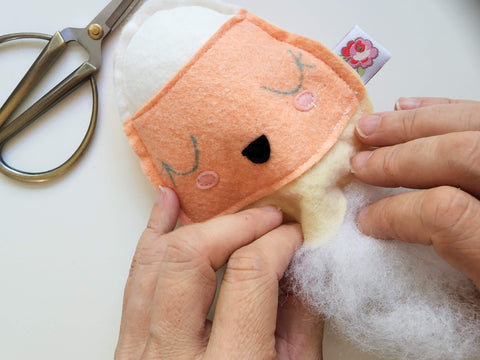
7. Using all 6 strands of embroidery floss and a backstitch, embroider the eyes. Finish your face off by navigating your needle out the hole in the bottom of your plushie and tying in a knot.
8. Make sure you still have enough stuffing, and sew the opening at the bottom closed.
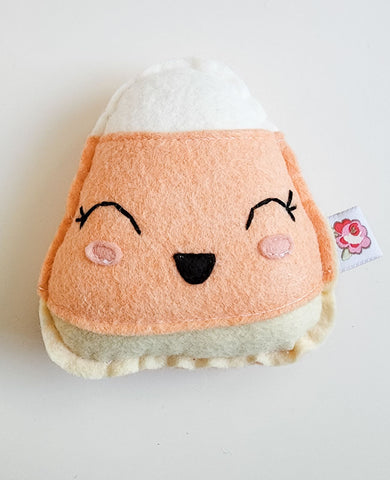
9. Admire your adorable plushie!
If you share your project, be sure to tag me so I can see what you've created!
Don't sew but still need a candy corn plushie in your life? I've got you covered. You can find the listing for these in my shop.
xo ~
Stephanie